


Cat Door Install
"That's not paint!"

About once a month, I enjoy perusing the aisles of a large thrift store, Value Village. I used to prefer the Good Will stores but they seem to stock more new goods, such as socks, overpriced candy, & small kitchen utensils, than donated goods. Value Village has rows and rows of assorted trinkets and household goods, some new in the box, but obviously donated.
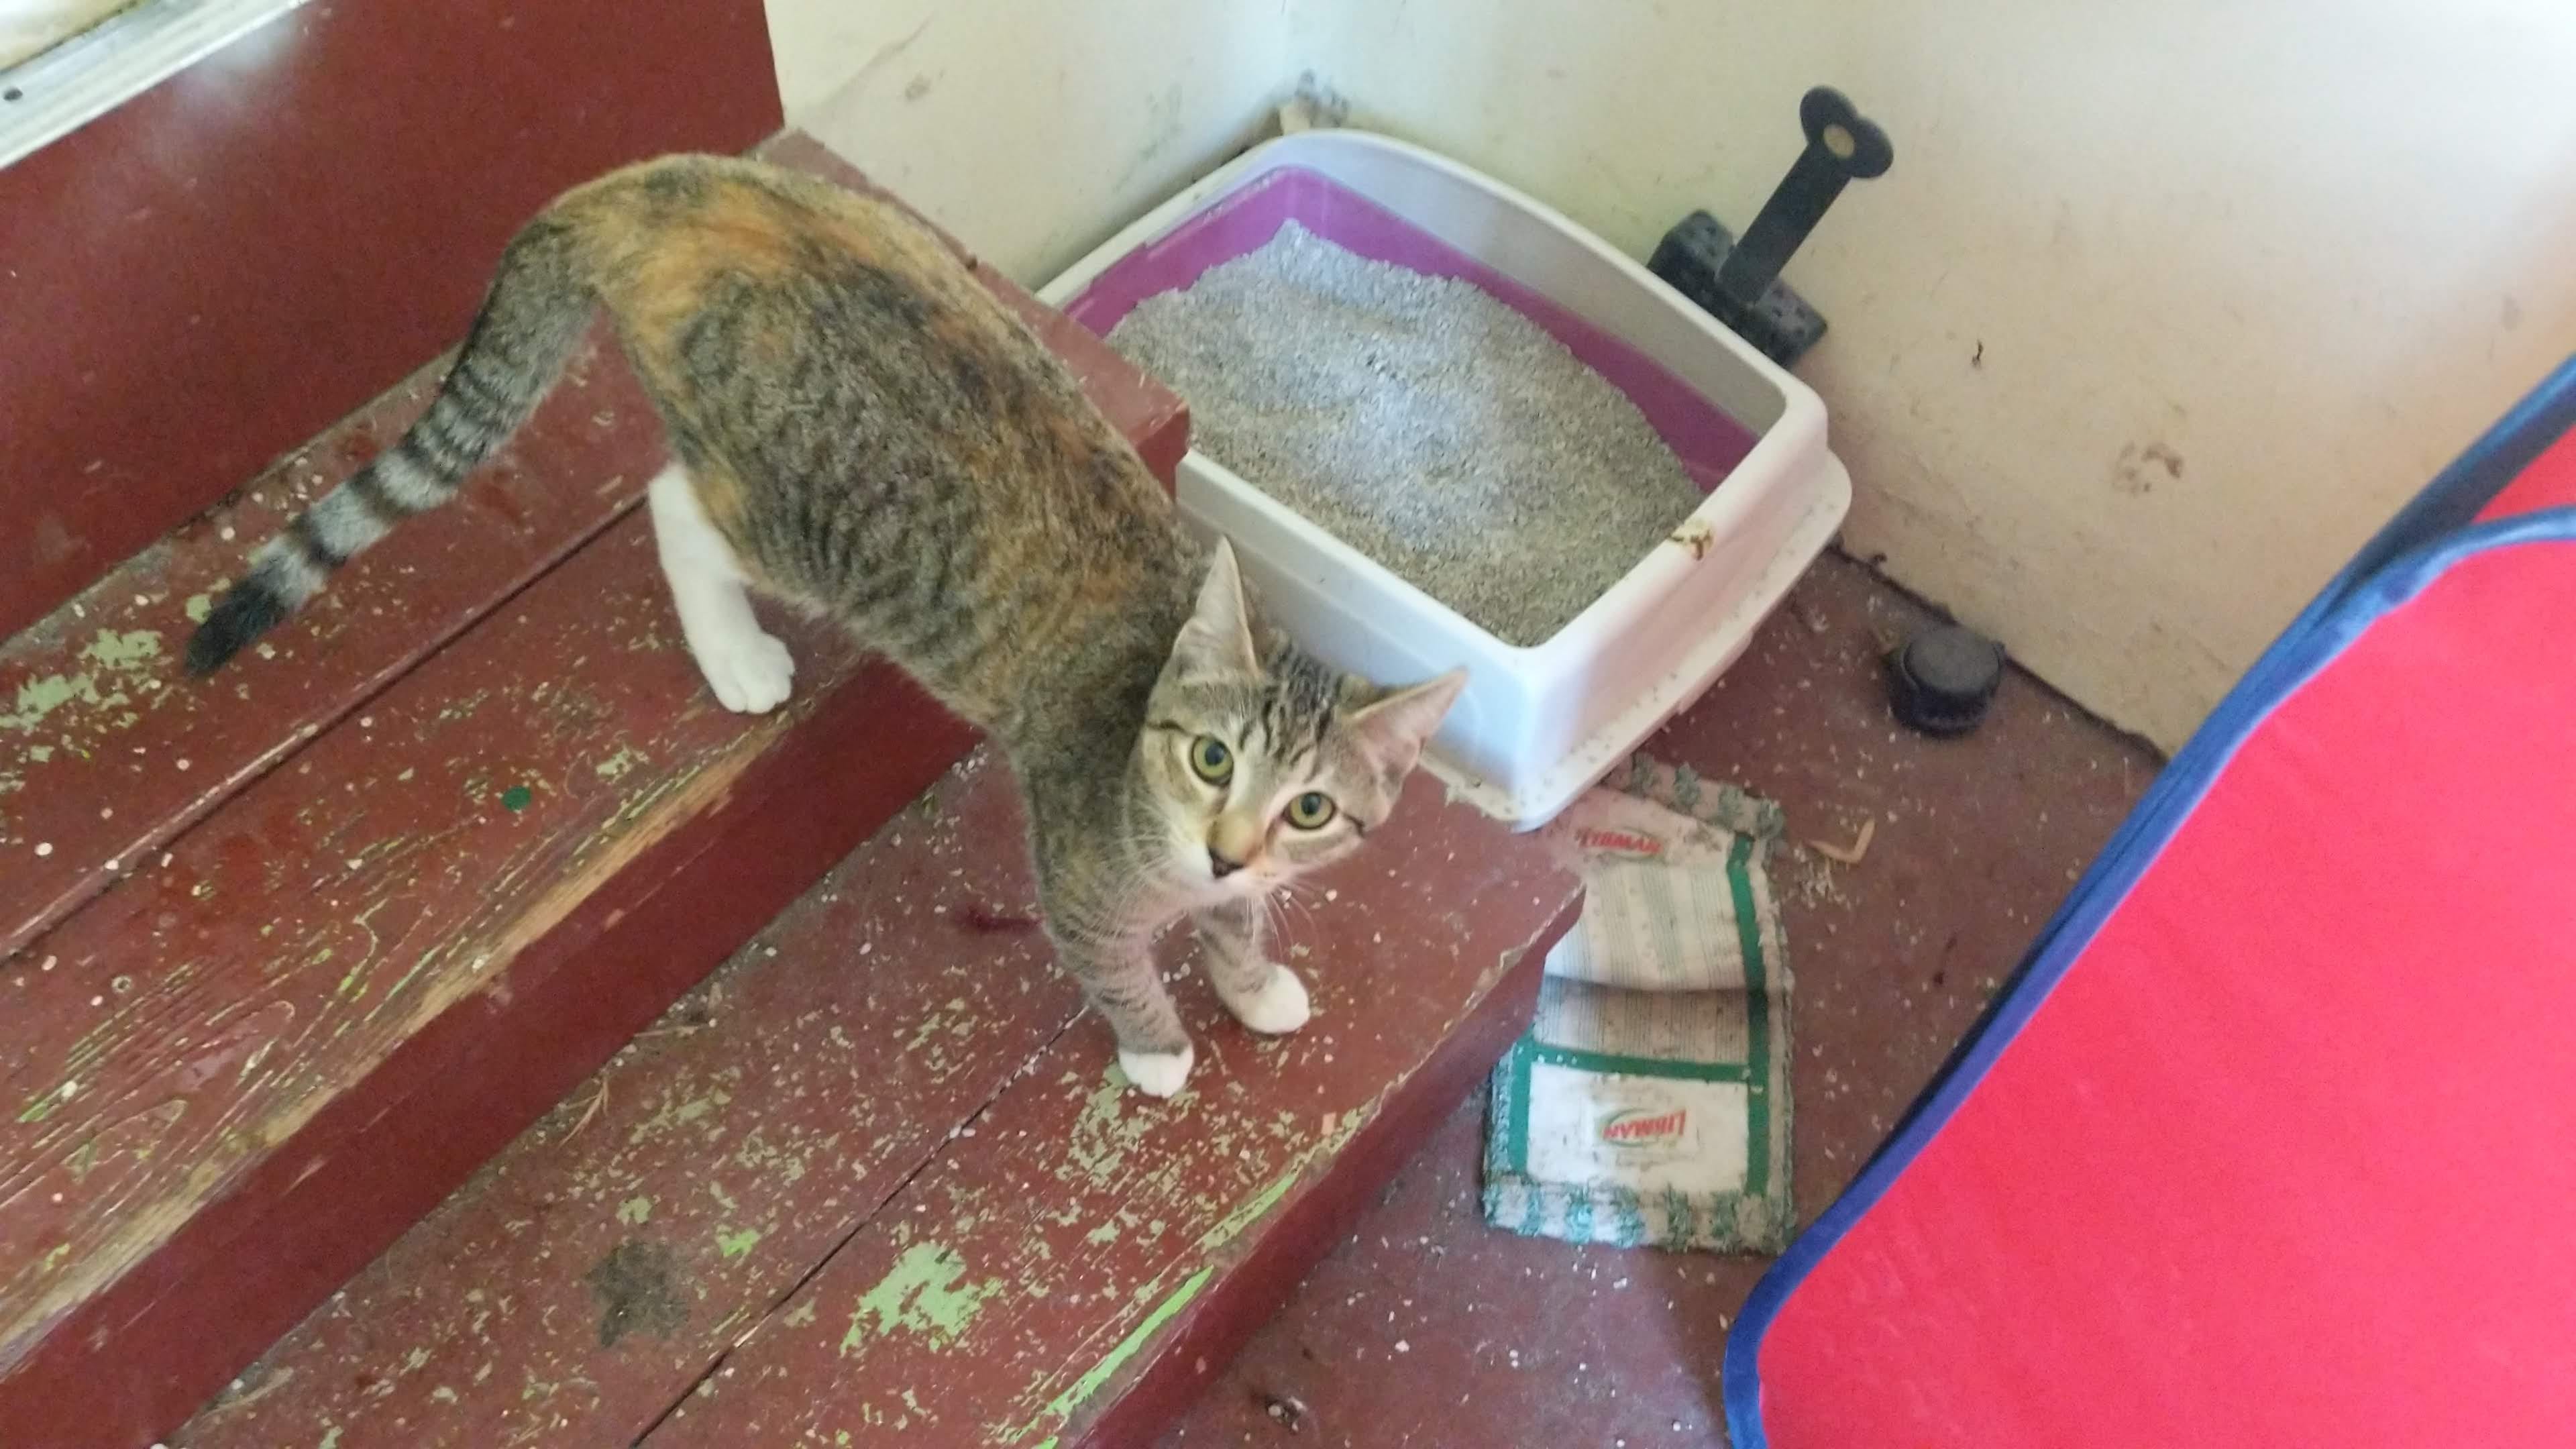
One of those ‘new in the box’ items caught my eye in the pet section: a cat door! We keep Bonnie's litter box in the laundry room, but that means having to keep that door open for her. Sometimes, not gonna lie, it can get pretty stinky even after scooping. We're using non clumping clay litter (I am open to trying something else). The odor travels through the house and I swear I can smell it even in the bedroom at times. Also, the laundry room is not insulated, although it can be heated. Keeping the door open in the winter would cost us in energy bills.
I hesitated to buy the cat door because Neal has a fun plan to move the litter box into the basement. It involves creating a different cover for an air vent in the floor (not a ducted vent, just one that vents that open straight into the basement). Below the cover would be a ramp that the cat could climb down, use the litter, then climb back up into the house. We have materials for it, but no time to build. So I bought the cat door, knowing I was taking on yet another project. The instructions on the box were pretty basic.

I turned to YouTube and found a nice DIY on installing a cat door. I soon realized that the blade on our saw was much taller than the one in the video, and ours was in pretty rough shape, especially after using it on the rose root. So, Neal and I went to the Westside DoIt center to get a new blade.
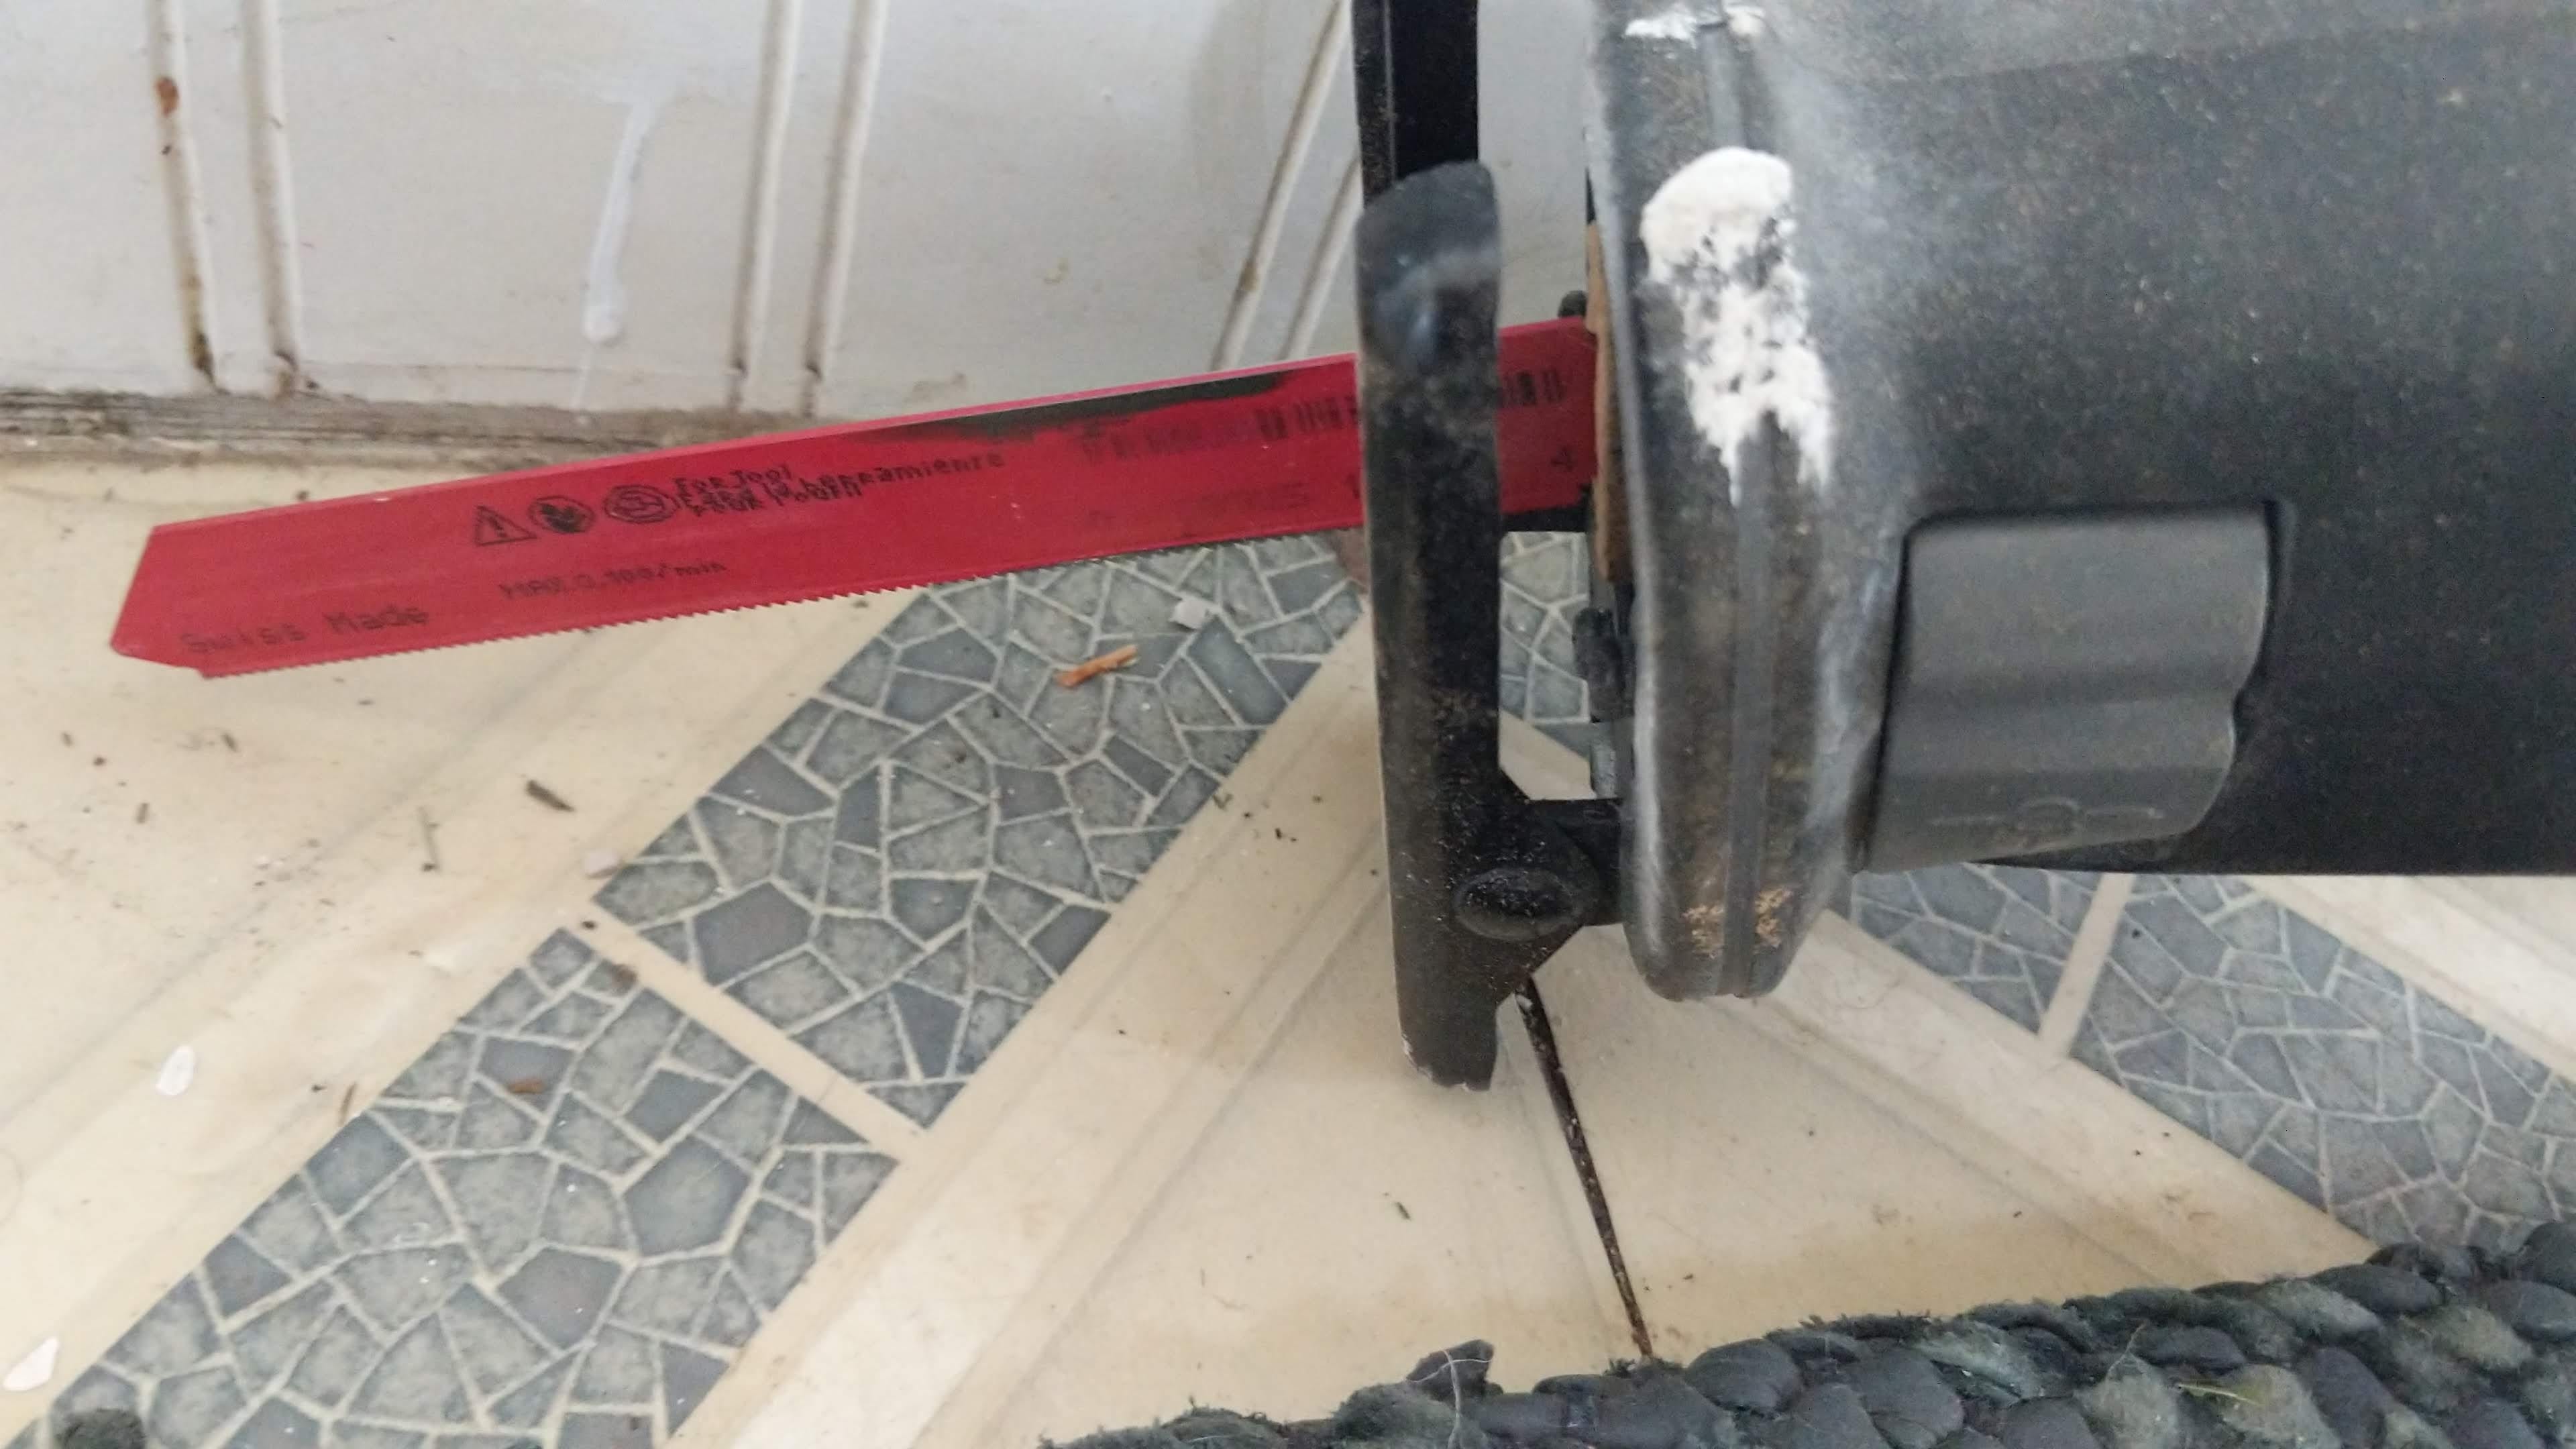
Here is where my inexperience with power tools threw me a curve ball. I don't know what things are called. I thought we had a jigsaw. We don't. We have a sawzall. The blades on these things are taller than what I saw in the video. This meant more work with the drill to create an opening. The blade we got said it would cut through metal, nothing about wood, but you have to figure it would be fine.
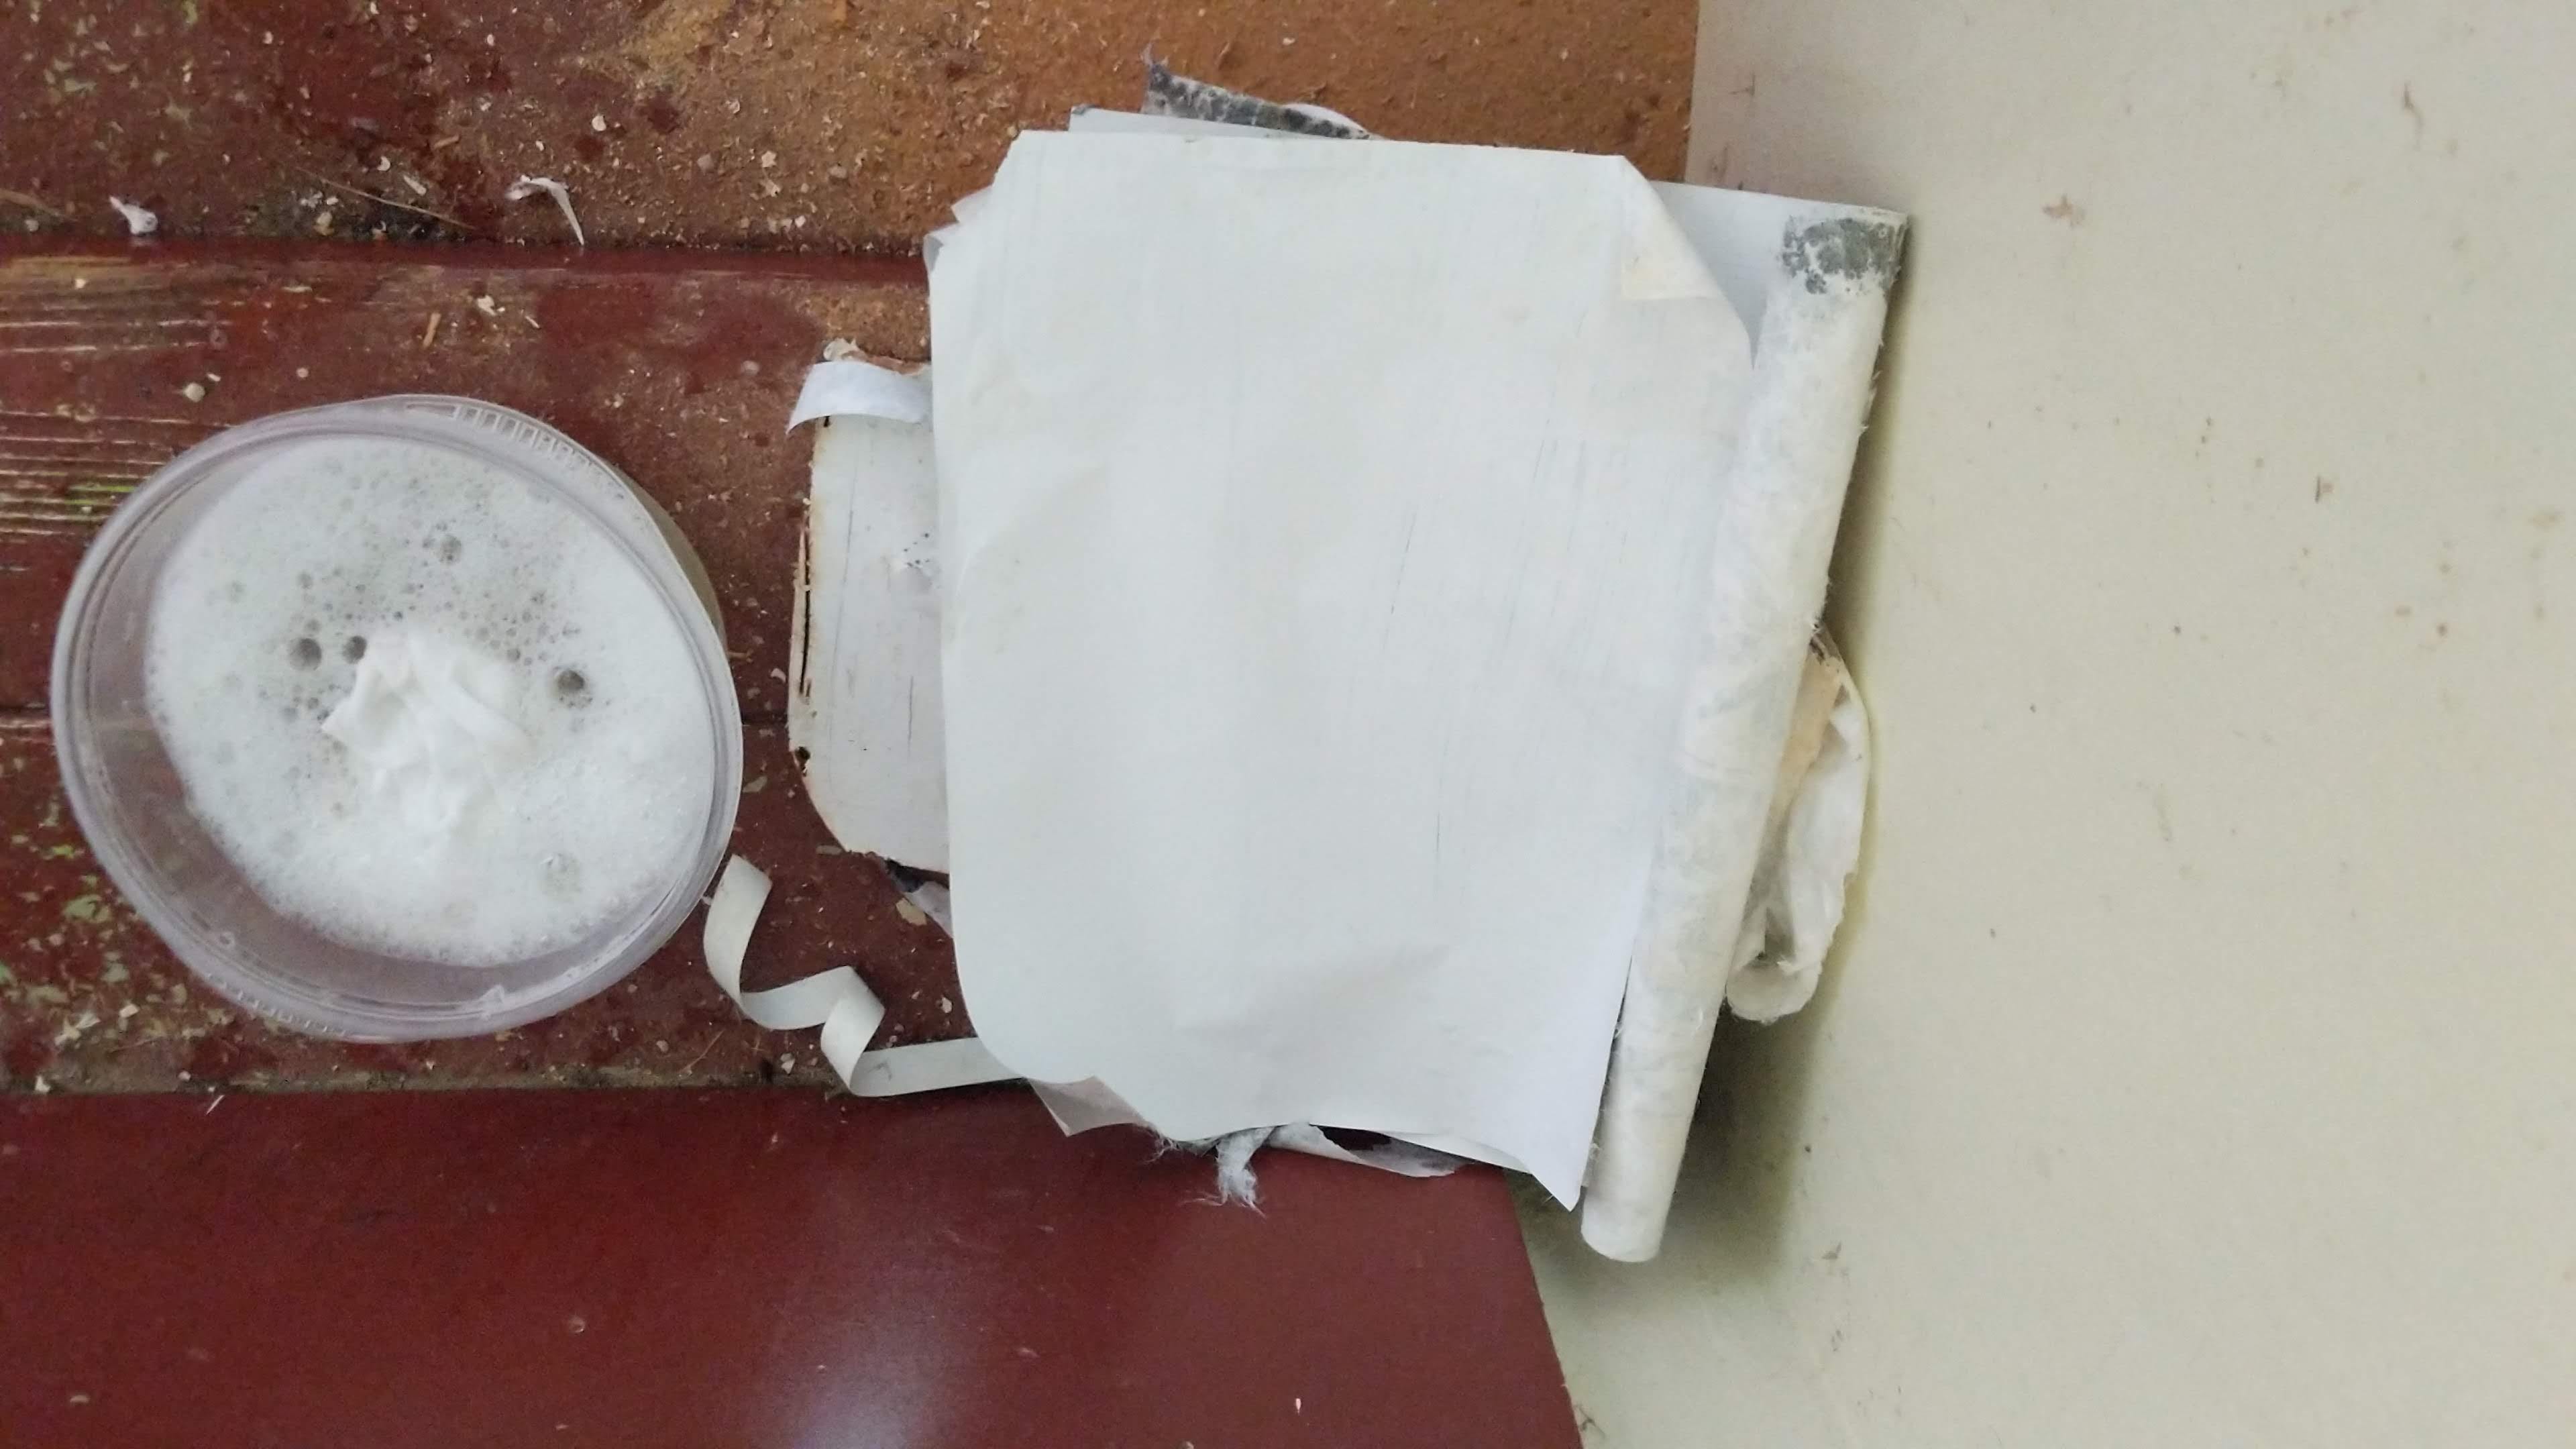
Drilling through the wood panel seemed like it should be a breeze, but it wasn't. It isn't a hollow door, although the lower panel is thin. I watched how the guy in the video worked (with his door laid flat), measuring to get the cat door centered, outlining the cat door template, marking the drill holes, taping the door to ‘protect the paint’, and cutting through that wood with his jigsaw like it was butter.
He started with a small drill bit, then used a larger one to create an opening. In our collection, there wasn't a drill bit large enough to make an opening for the blade, but starting with a small drill bit aided in the process. I had to drill several holes, and it was sweaty work! The door is in an awkward location as well; there is a small staircase immediately on the other side. So, the hole drilling took a few days, coinciding with one of my busiest work weeks ever. Finally I was able to get a blade in for the top cut. Once situated, it did kind of cut like butter. I made the one cut, then called it a day.
Neal said this tool can be very dangerous, and to always lock it when not in use. I locked it in between uses and removed the rechargeable battery. I thought about the direction of the cuts and was kicking myself for creating the opening where I would be steering the blade towards me instead of away from me.
On a Saturday, I decided to at least get the door hole cut. A sawzall is less limber than a jigsaw, but it worked well enough. I had a supervisor most of the time:
Thinking about the door’s future, I decided to paint the door around the opening to prevent having to tape off the cat door. The back side of the door had some edges and bubbles. So I started peeling an edge.


It wasn't paint. Was it wallpaper? It came off in neat squares. Contact paper? Perhaps. It left a papery residue. Searching ‘wall paper removal’, I mixed up a batch of hot water, dish soap, baking soda, and distilled white vinegar, applied with a rag, and used a plastic paint scraper to aid in removal. They recommended covering the floor with plastic to protect it, but in this case it was not a concern.
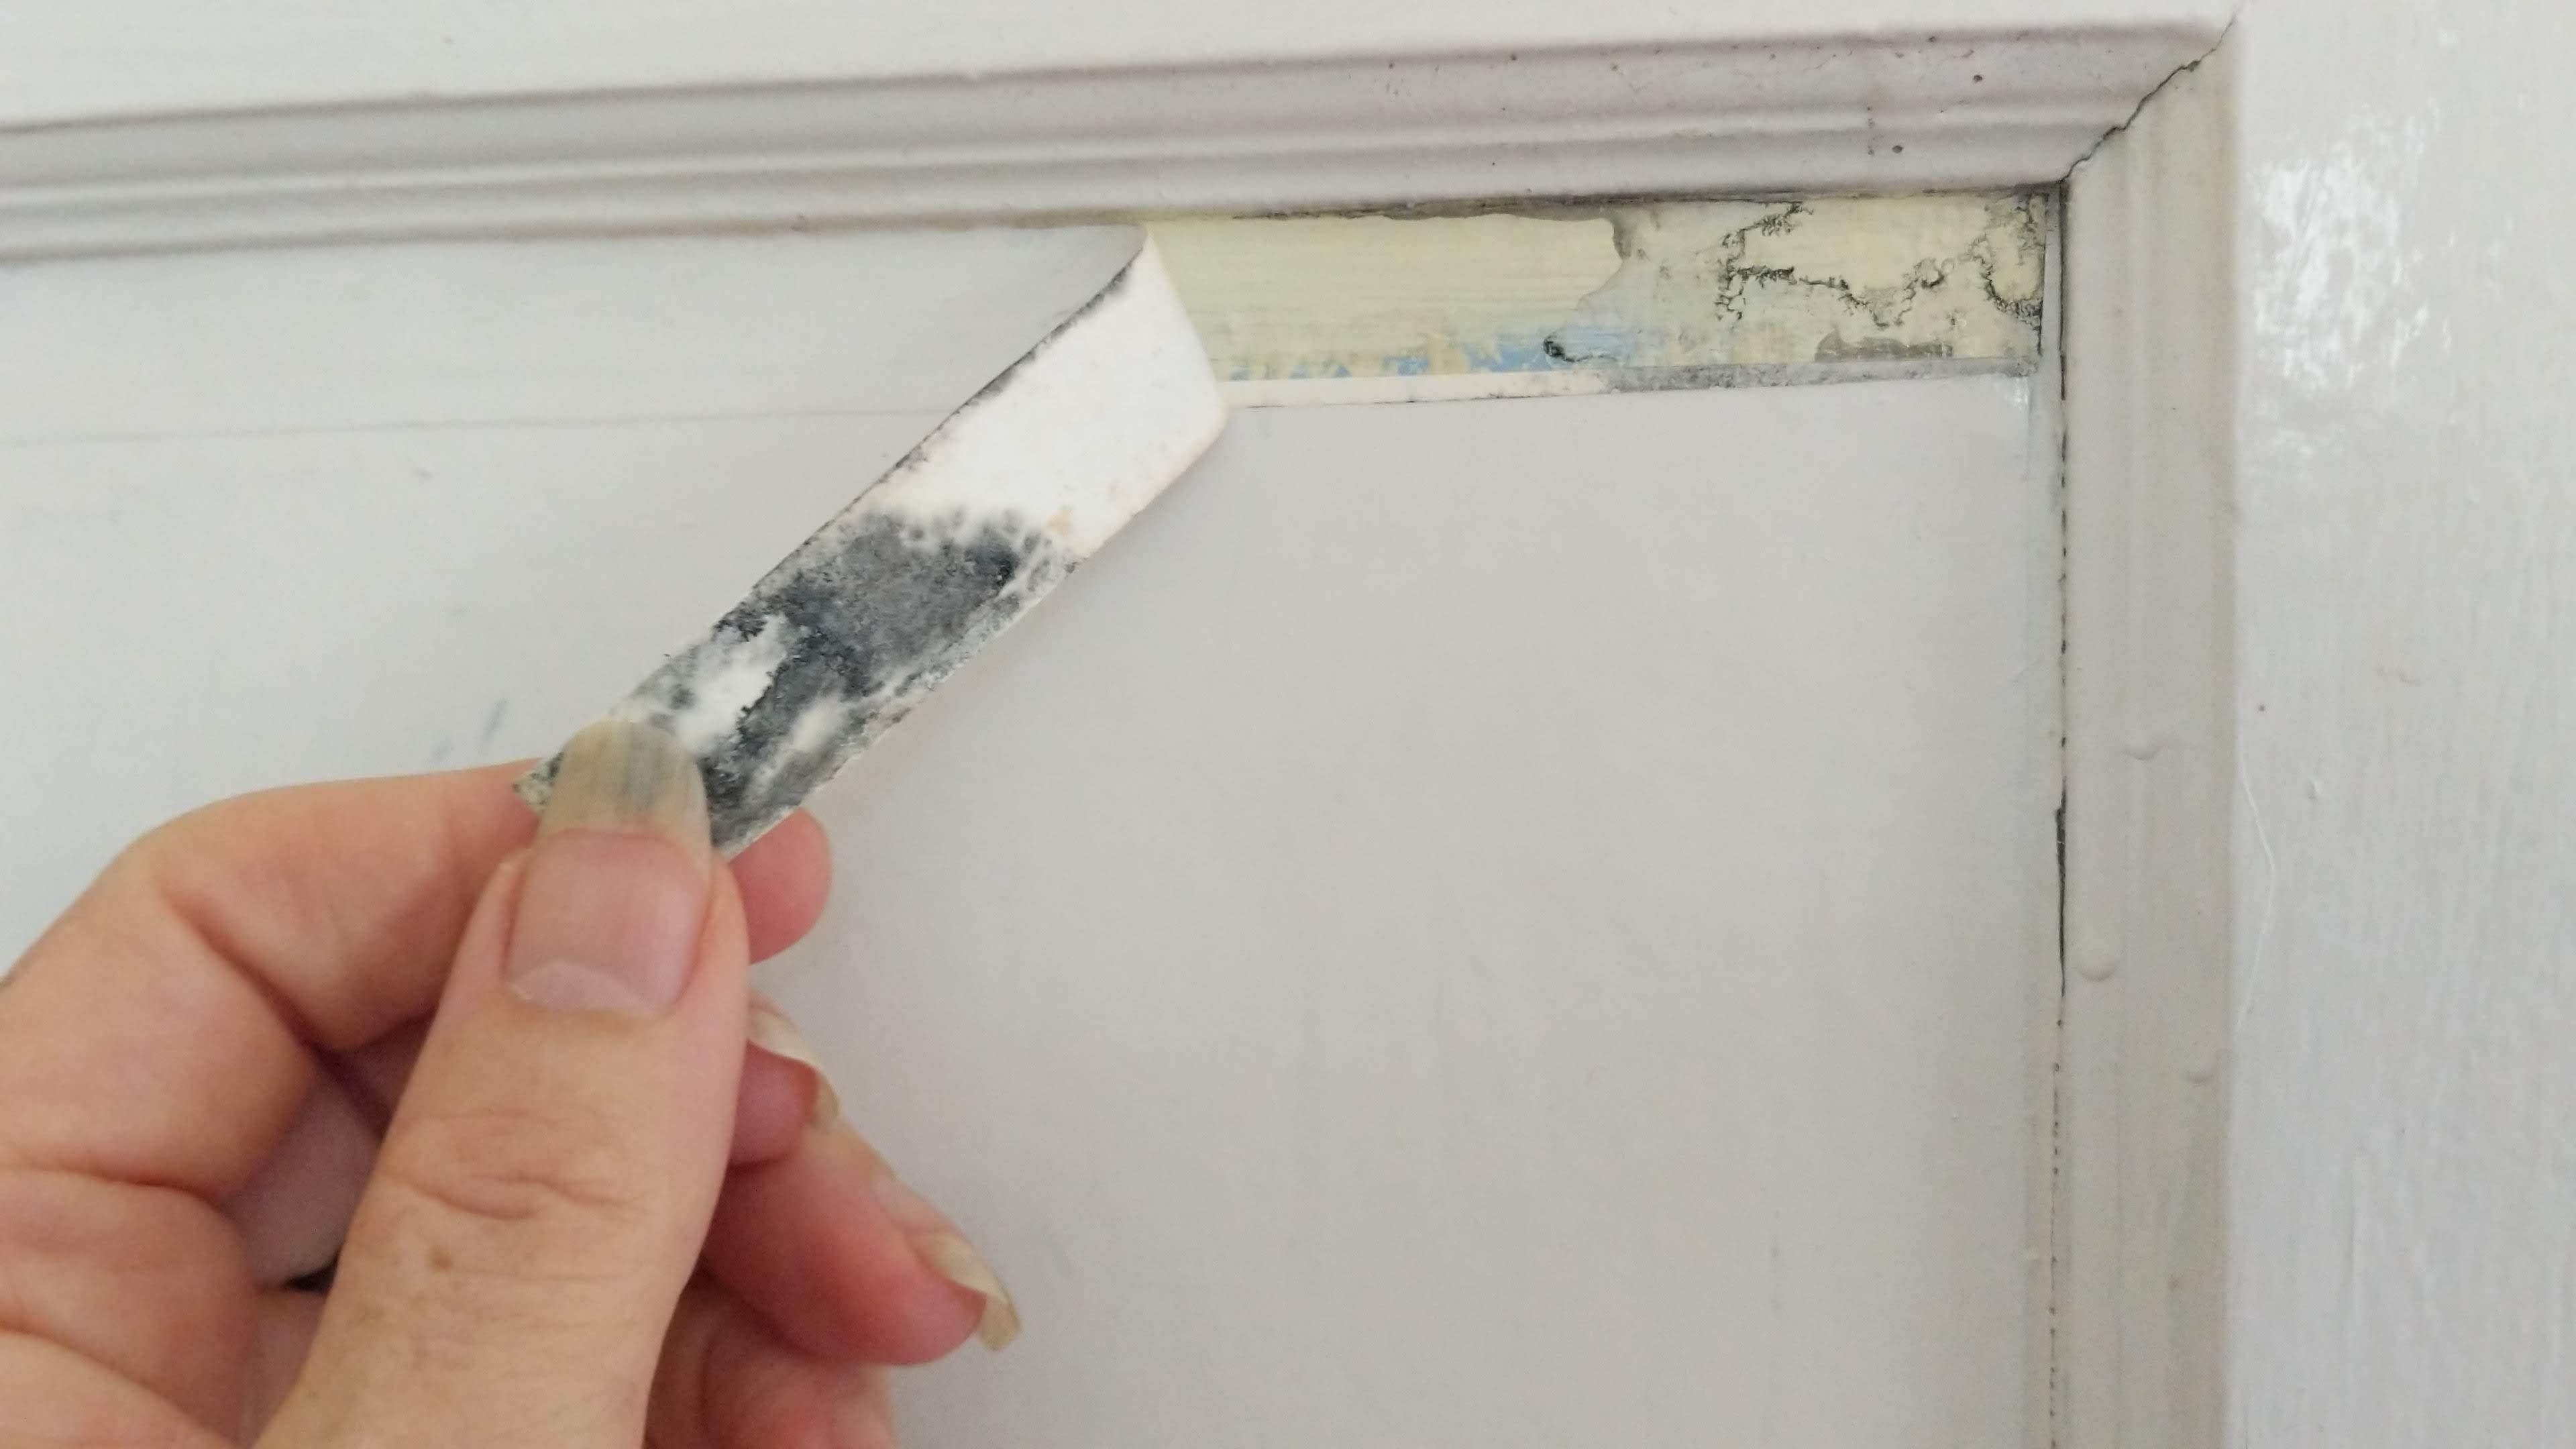
Some of the paper had mold under it. Luckily it came off attached to the residual paper when removed.
One a couple of the panels, a pattern emerged from beneath, as though it had been painted over with latex. I wanted to uncover one in its entirety for a photo op, but that would have been too much work. You get the idea:
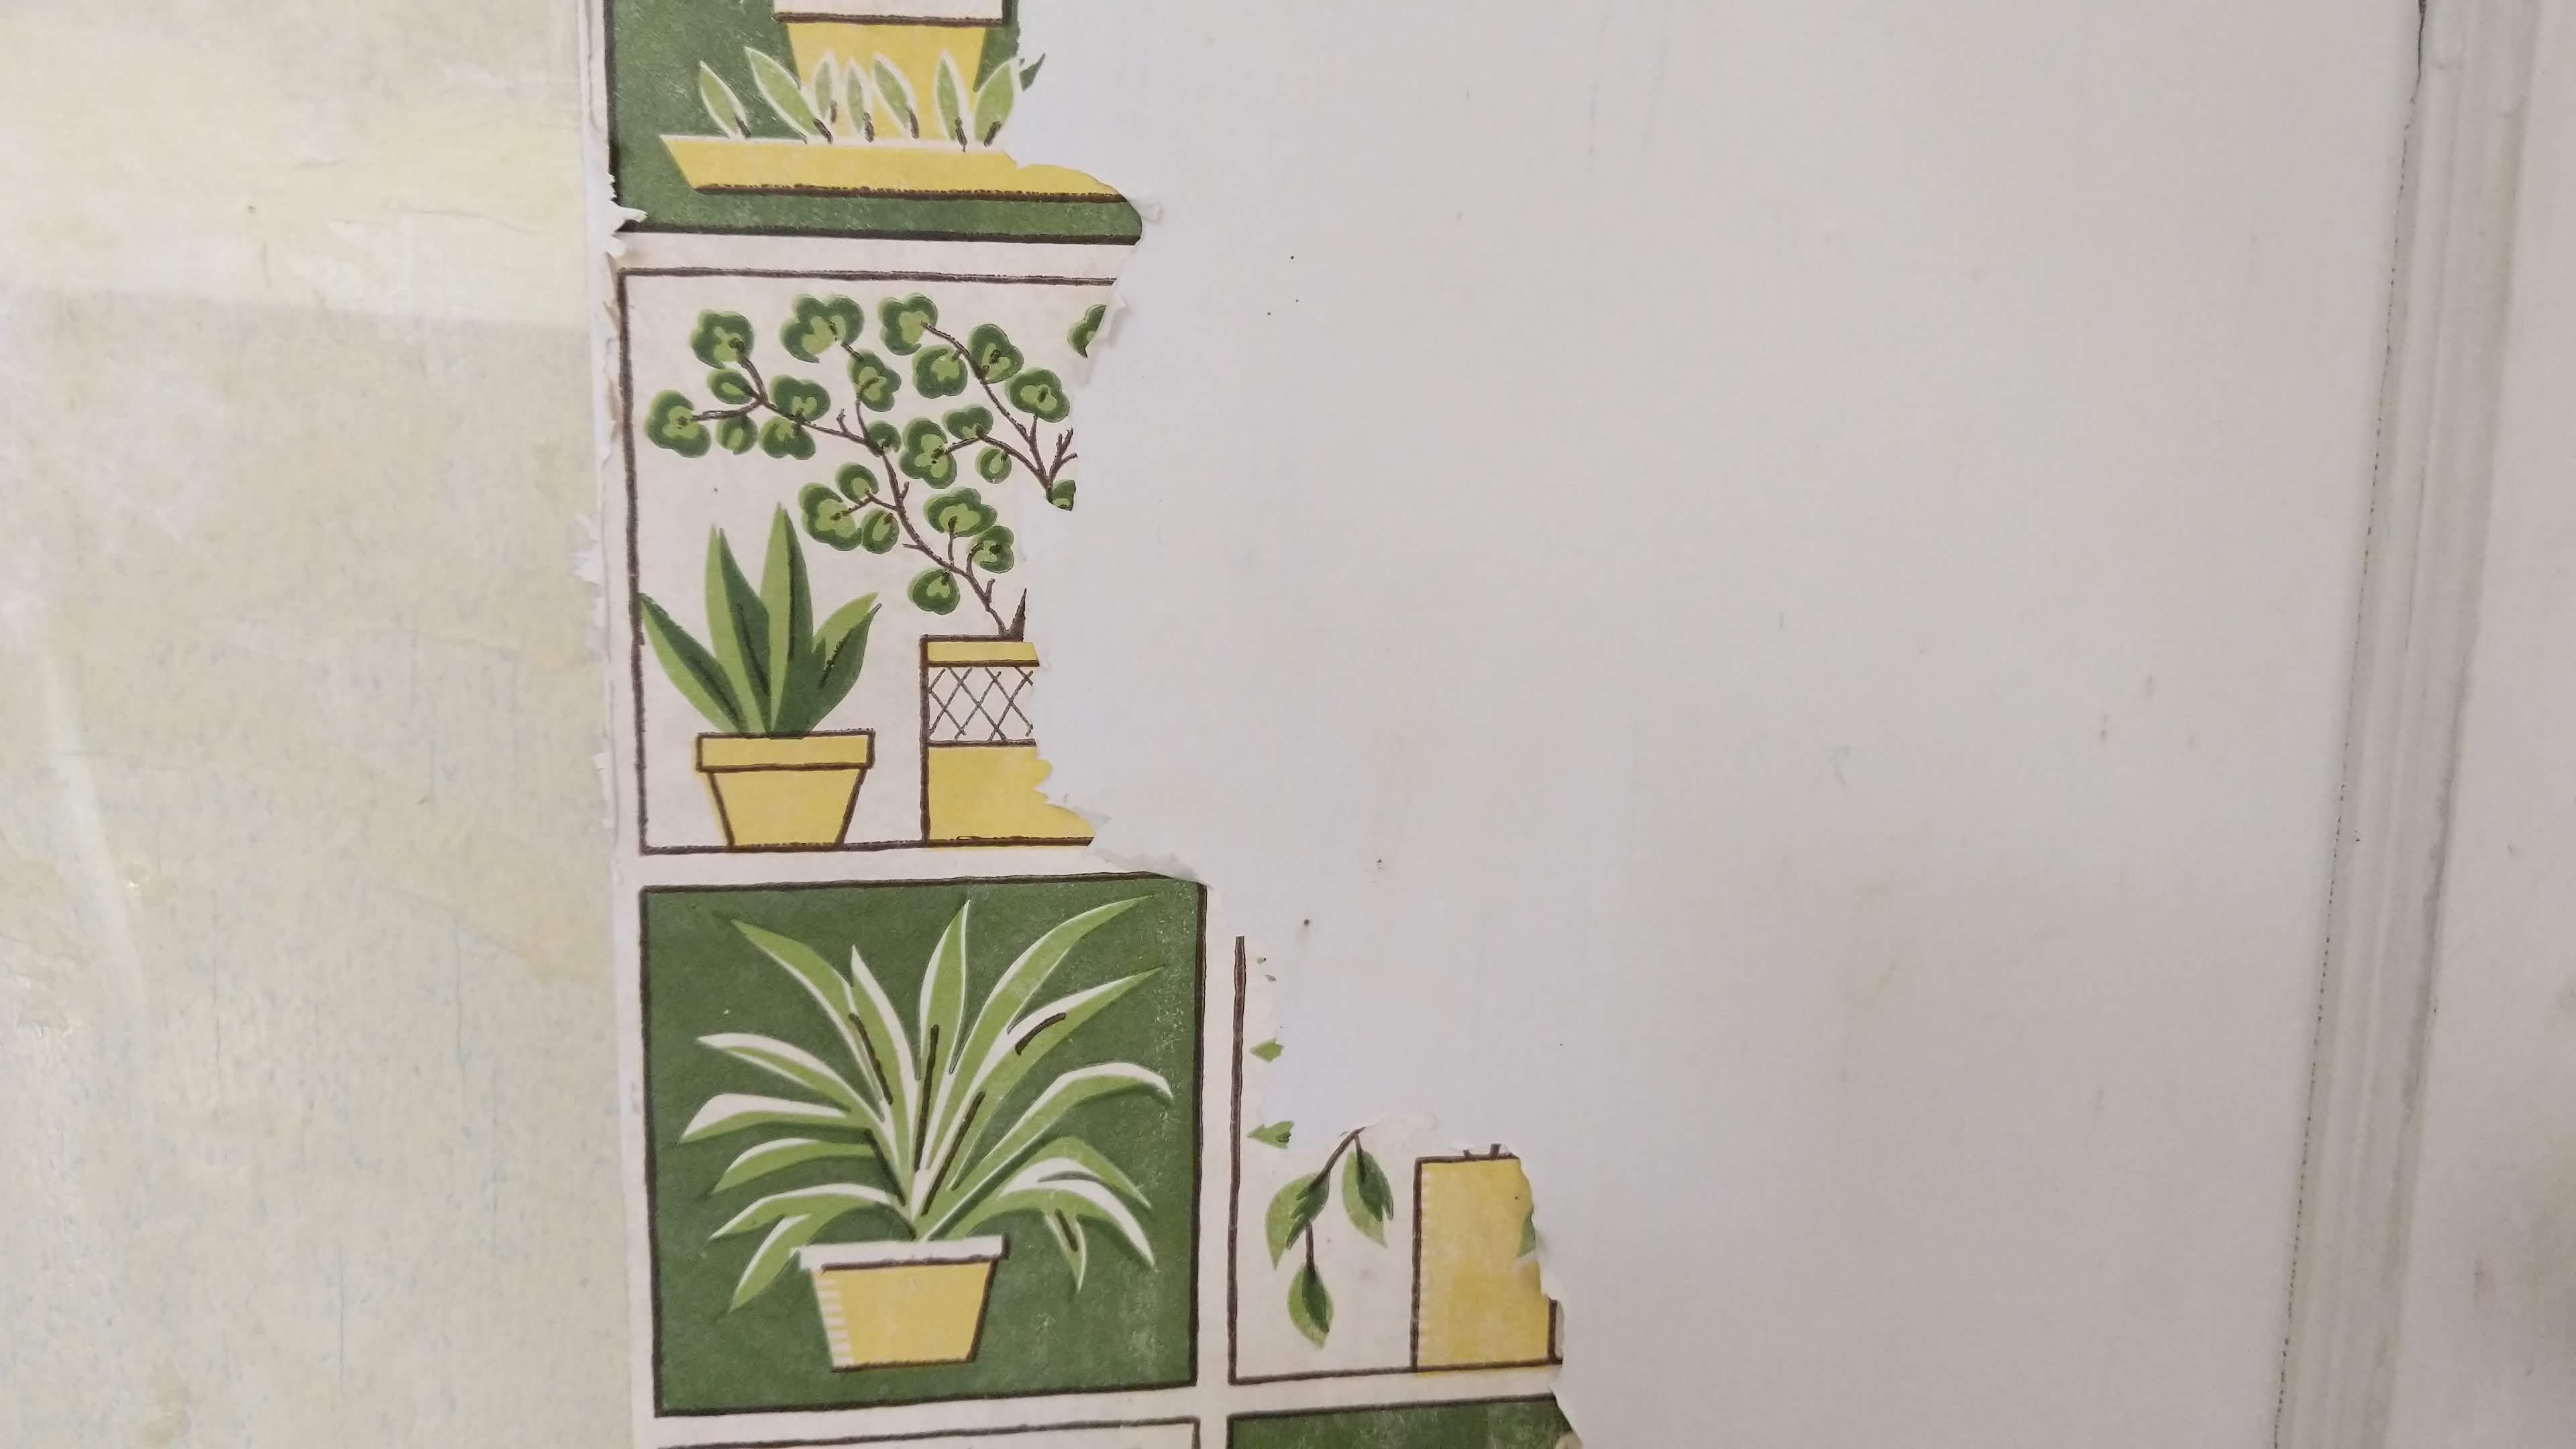
Whomever had applied these “delightful” panels had started at the bottom. There was a half inch strip to fill the gap at the top.
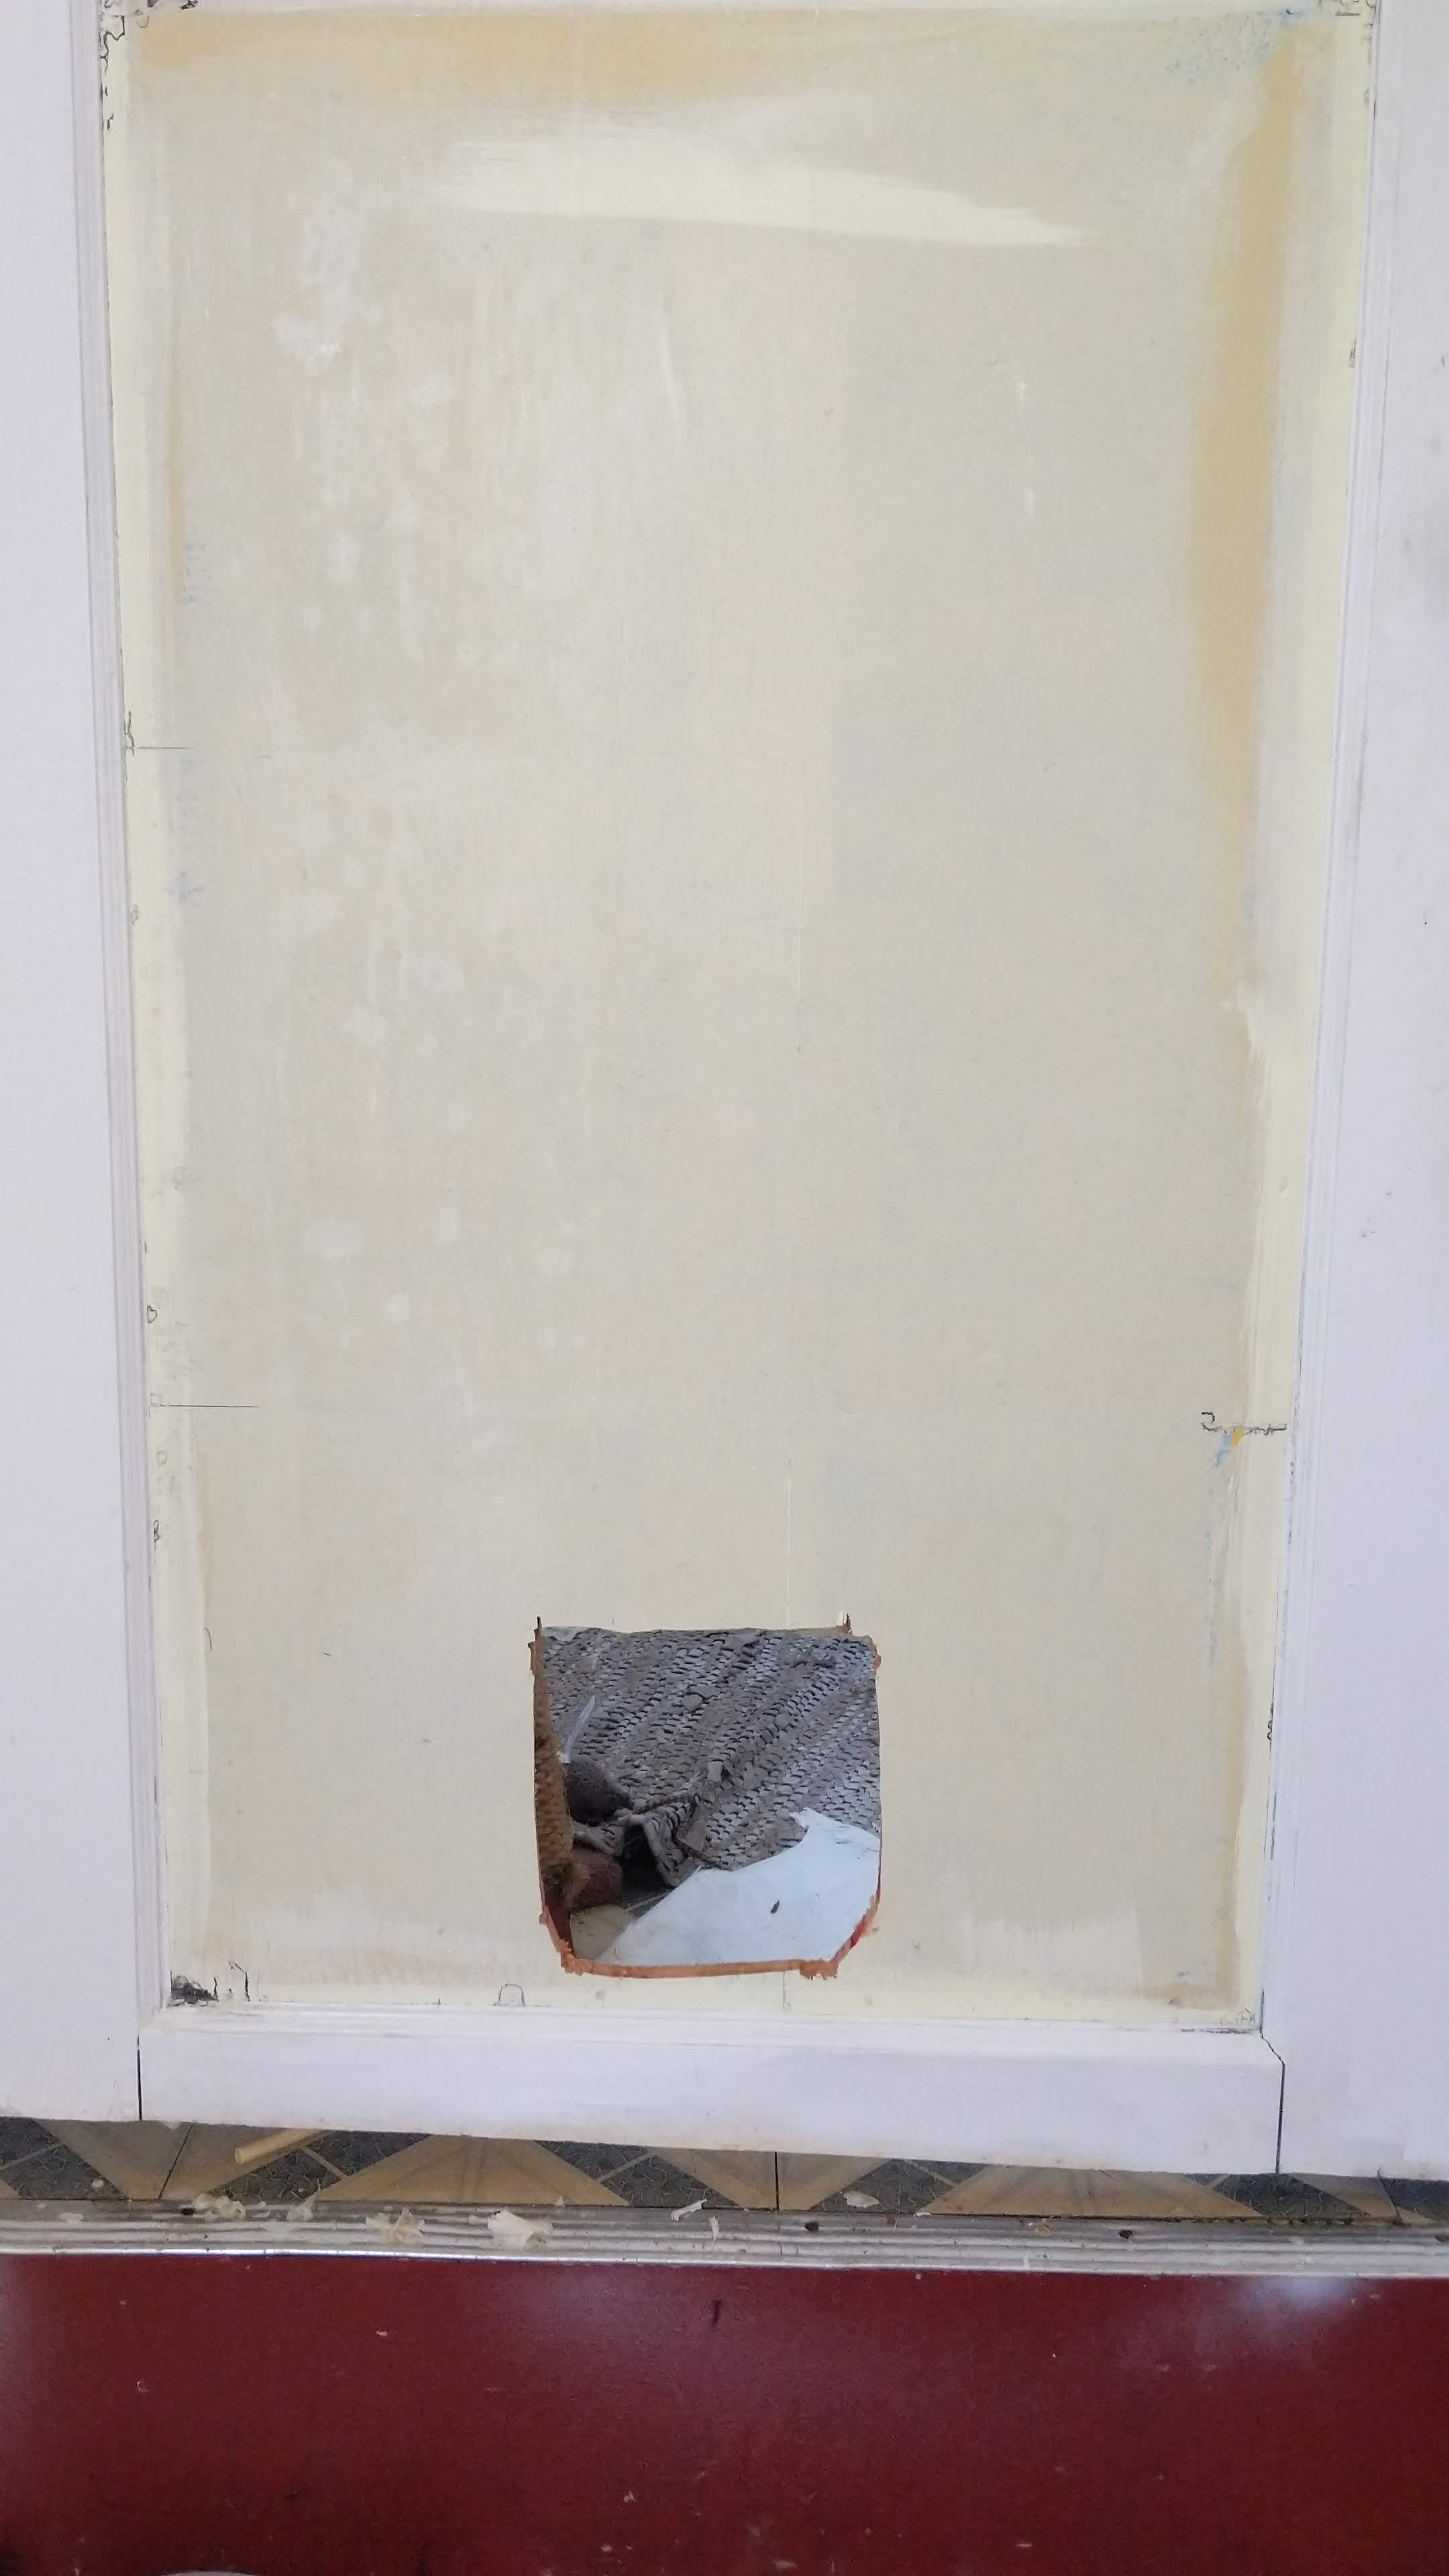
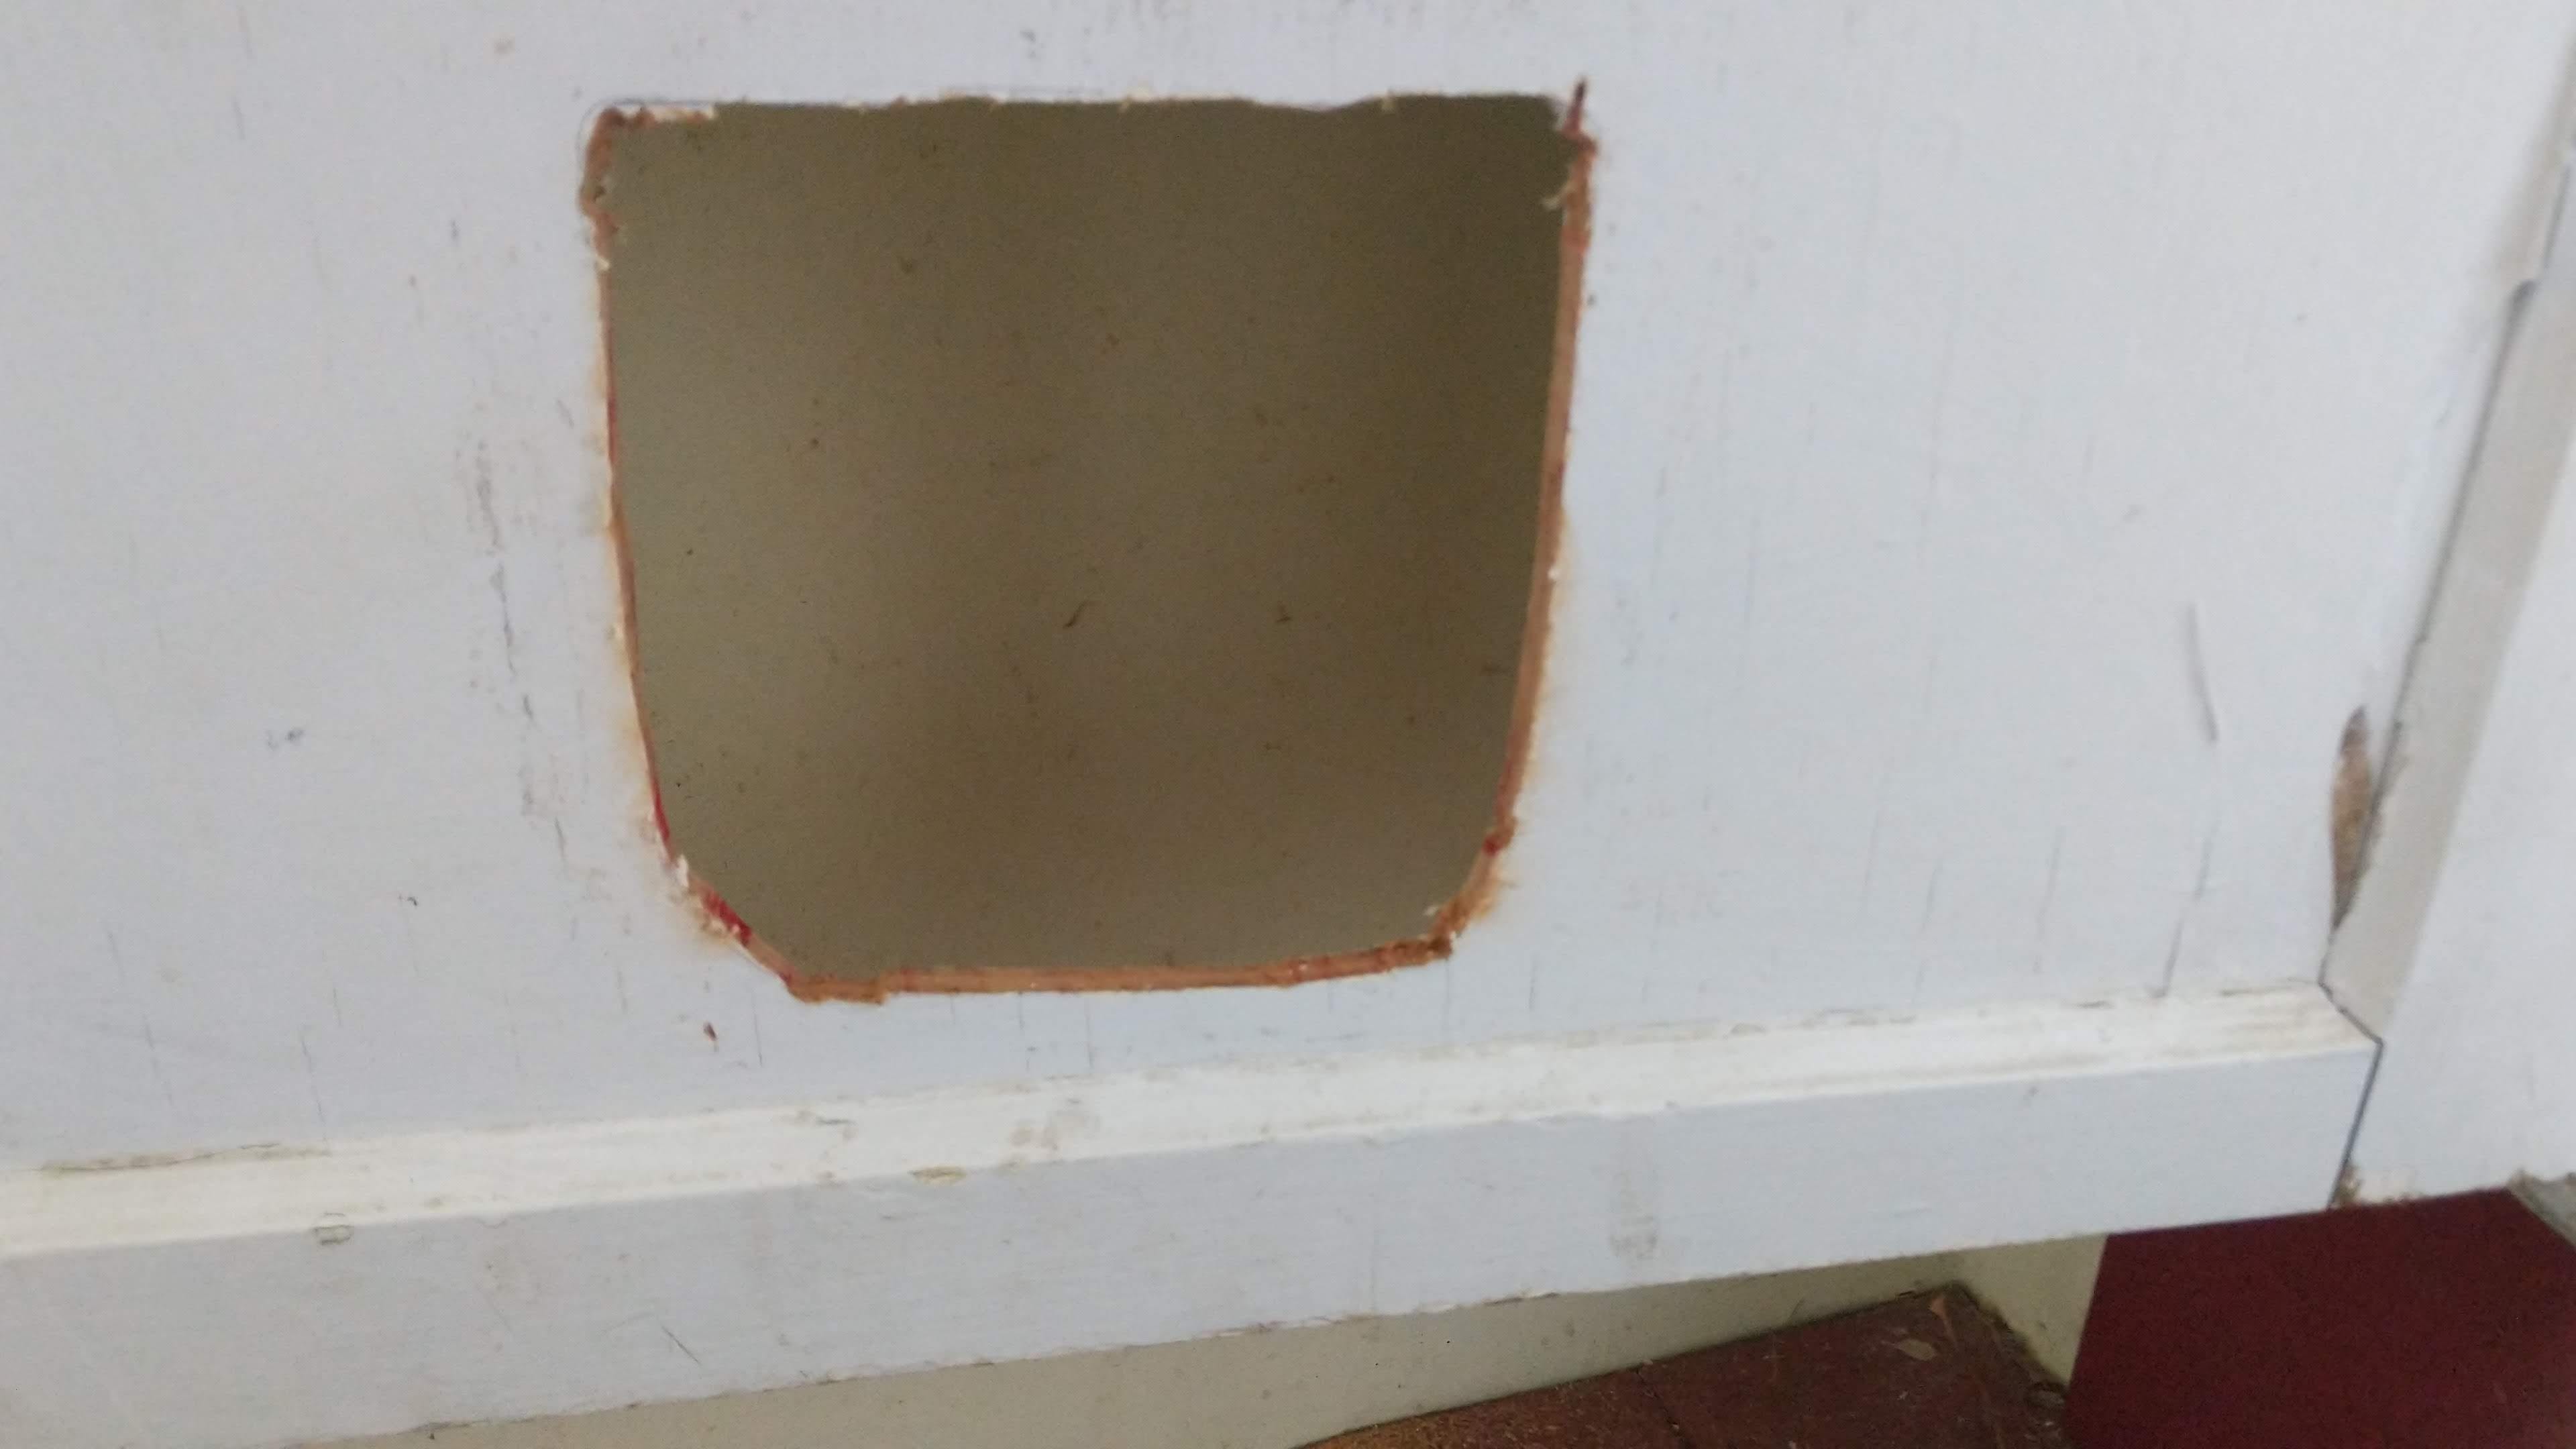
Once the contact paper was removed, I painted the lower portion of the door (“pink damask” from Ace) and set about to install the device. The kitchen side fit and set just fine, but the laundry room side had a cover that fit more exact. I had to shave off more of an opening. Rather than risk an overcut with the power tool, I used a Lennox hand saw with a similar blade.
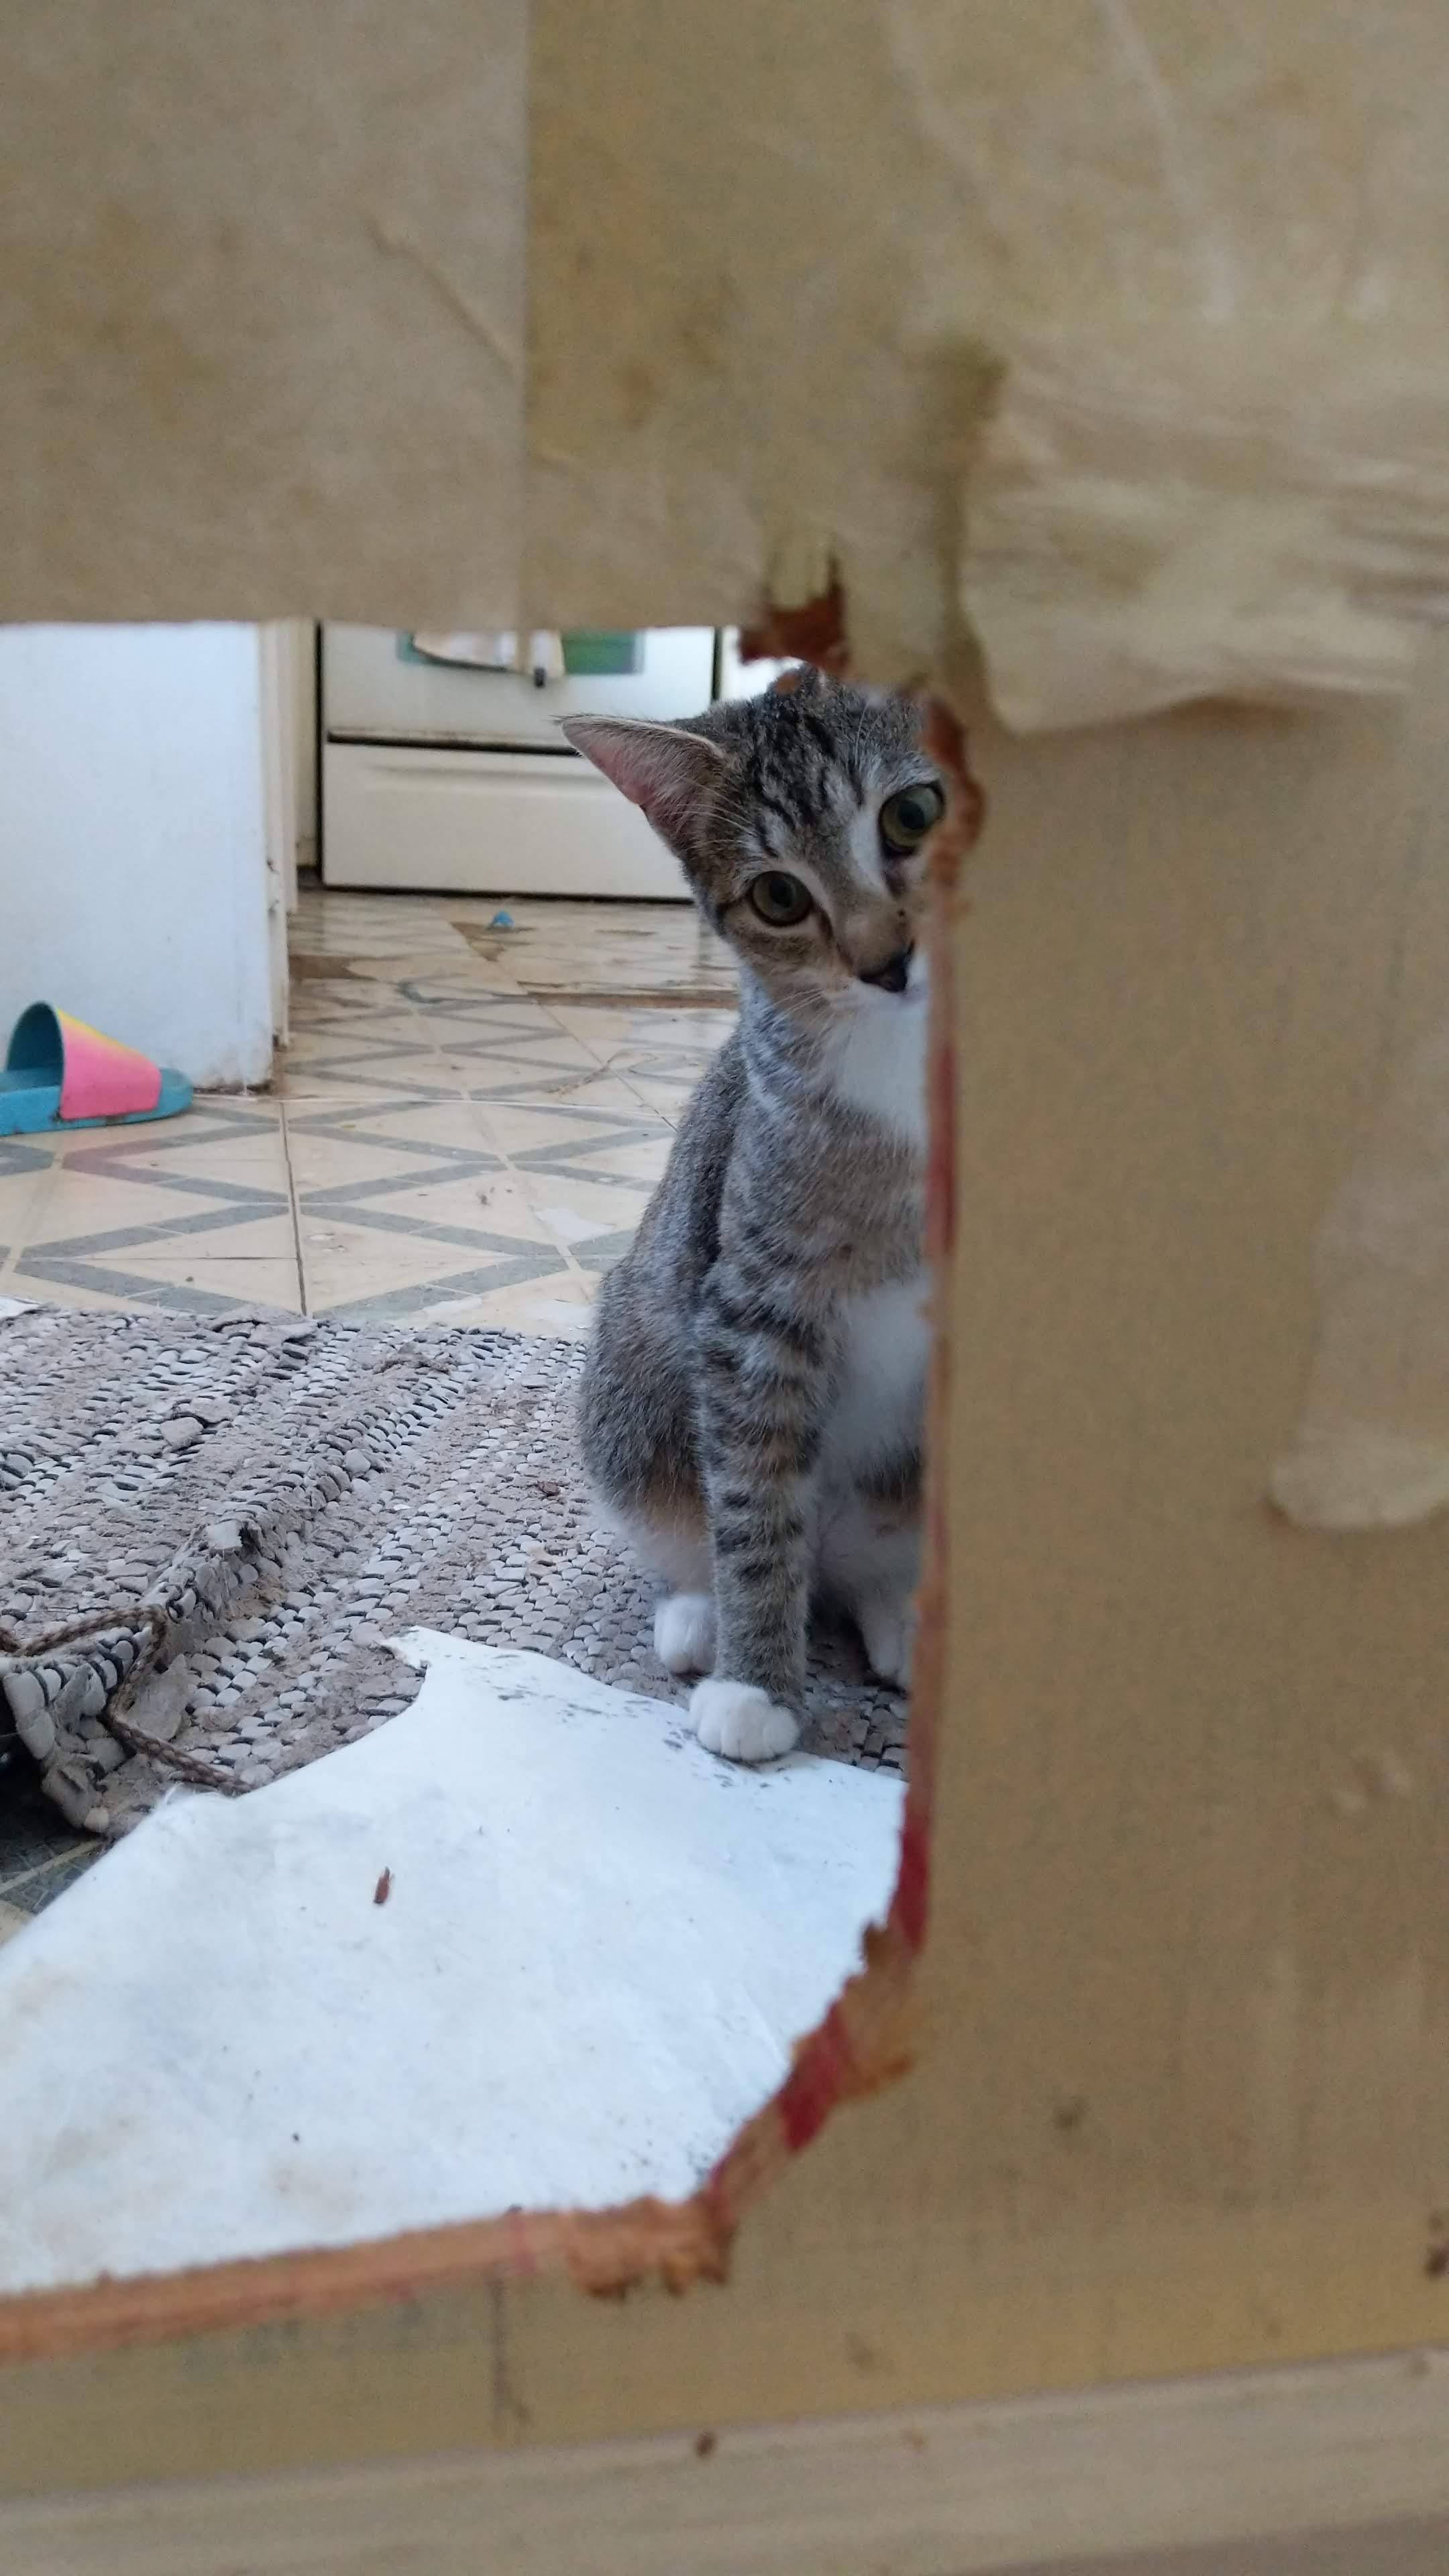
I used a level to make sure the cat door was straight before drilling the install holes. Problem was, the door isn't hung perfectly straight. So while level to the universe, it's slightly off to the door frame. I can live with slightly off. The door panel is so thin that I wasn't able to tighten the screws completely, as that action would push off the plastic cover on the other side, which adhered with foam sticky strips and snugness.


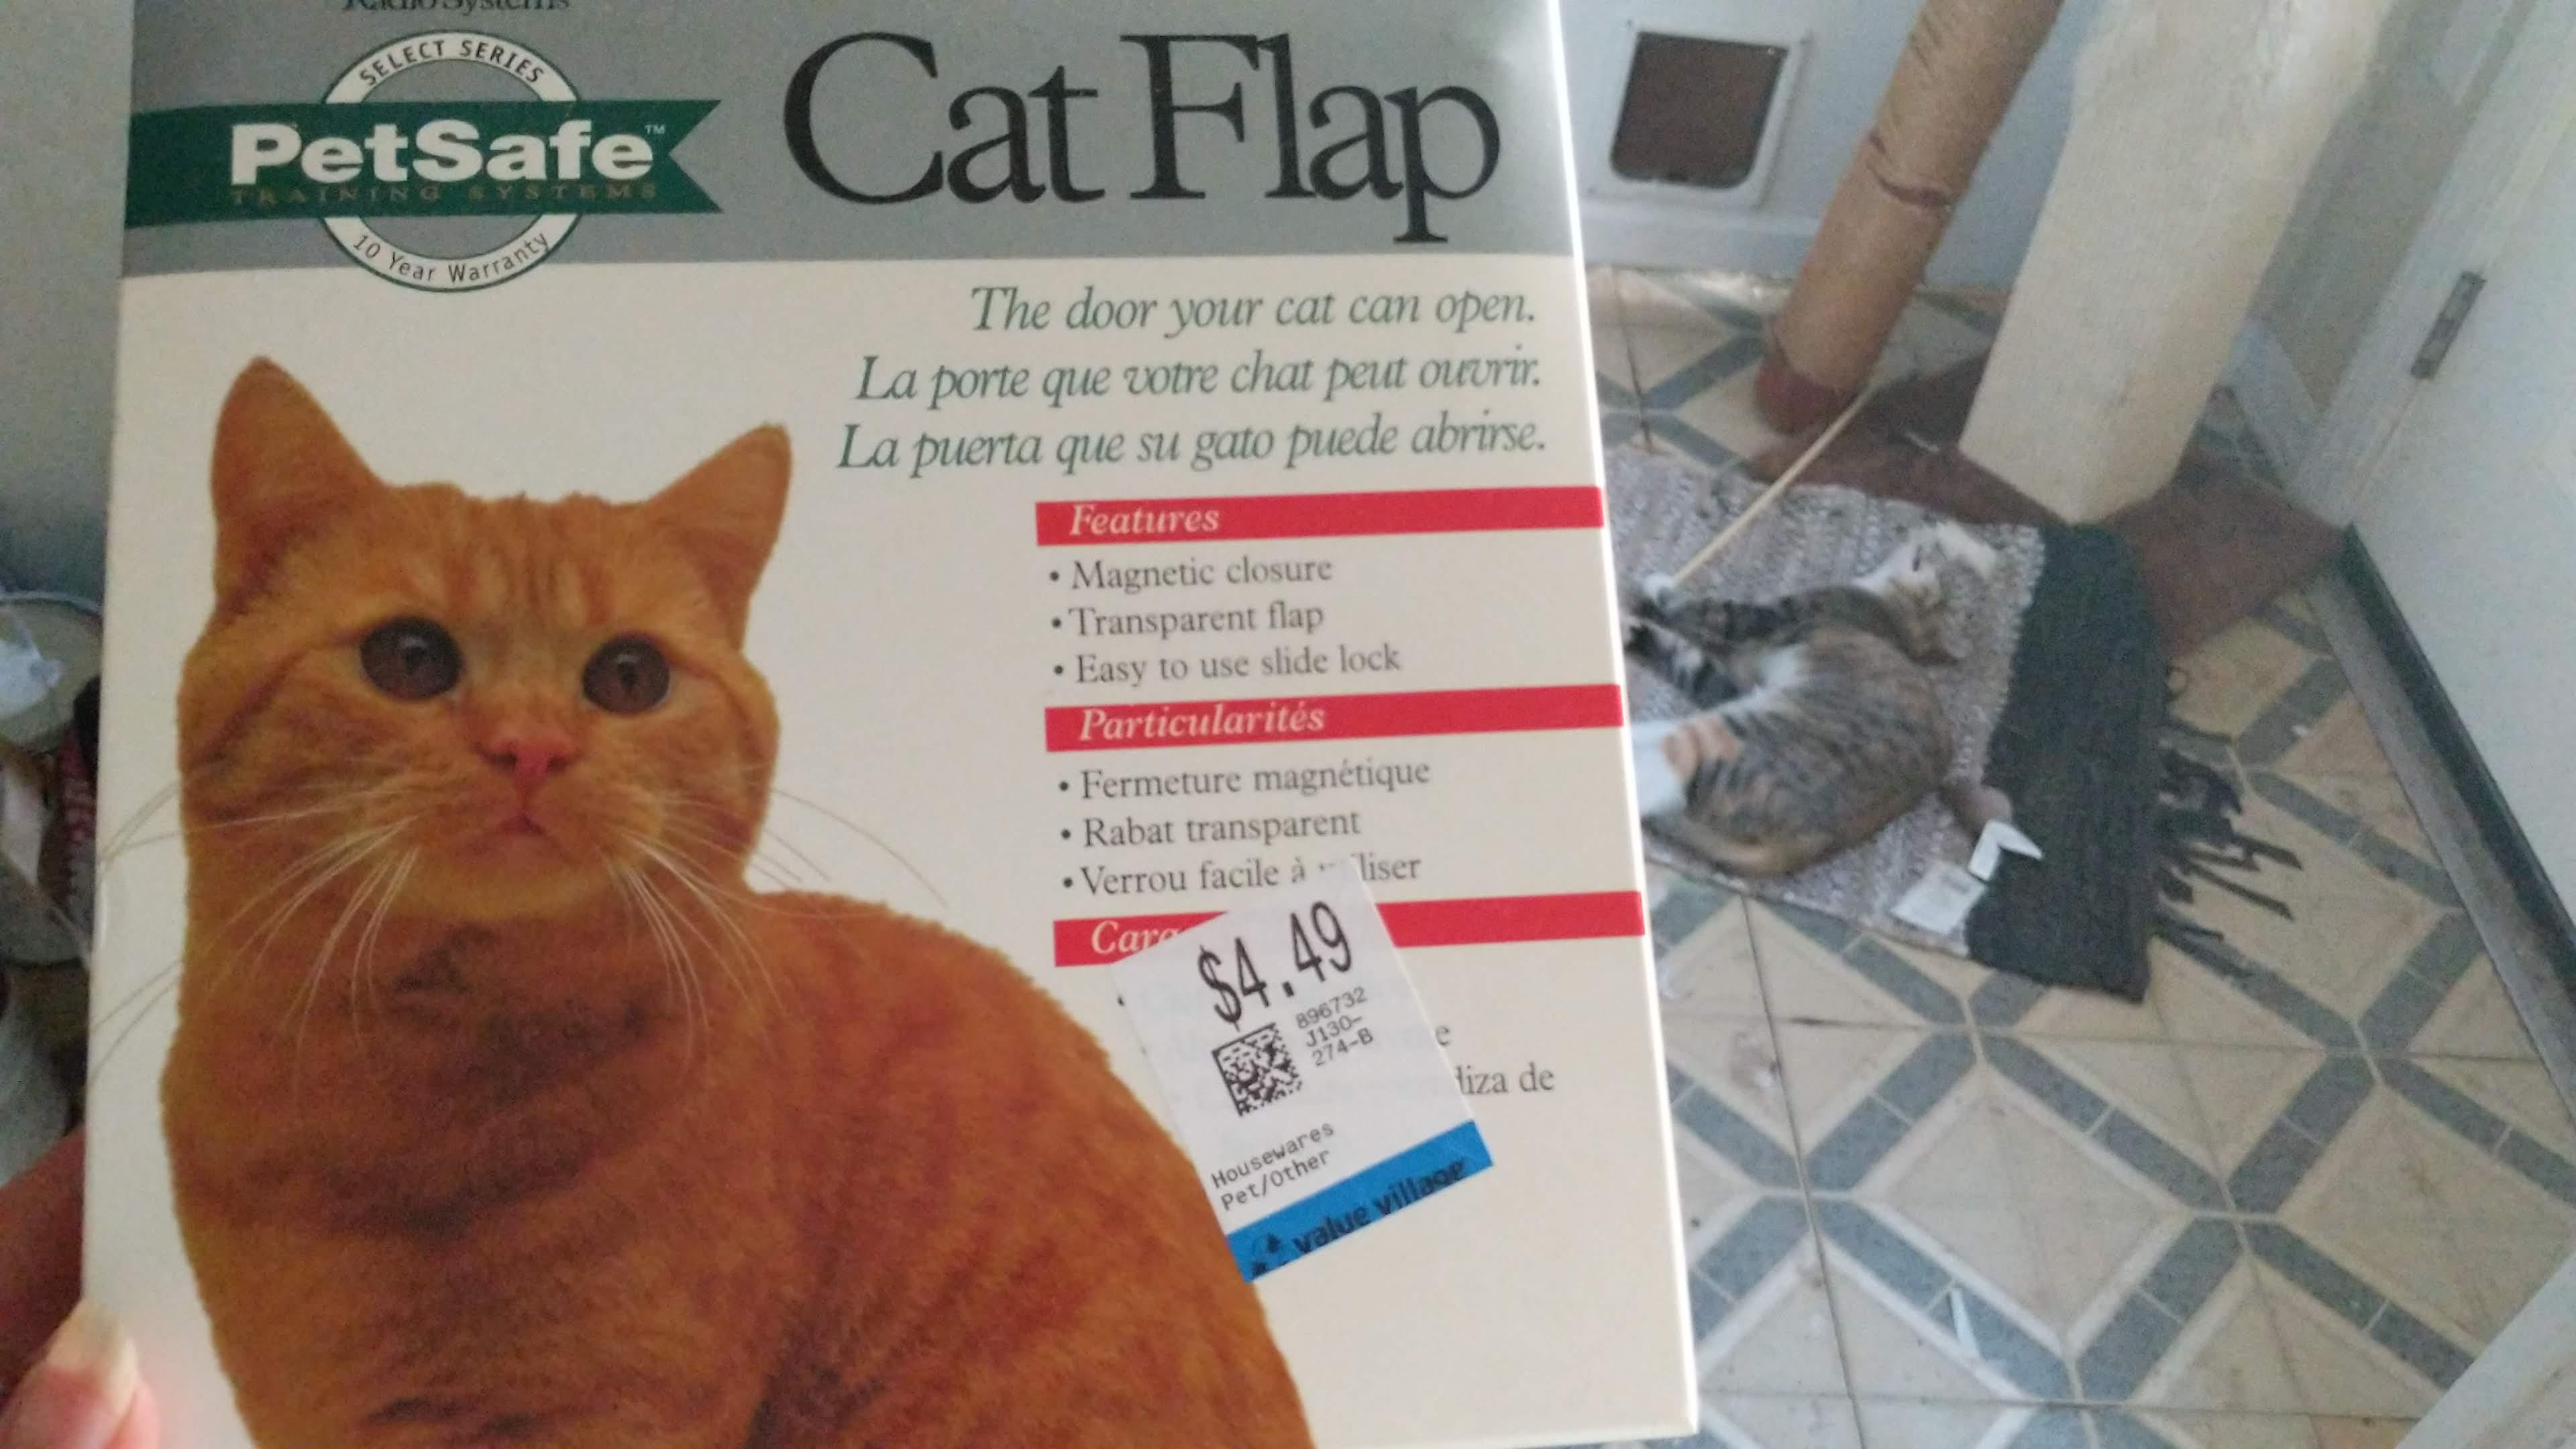
No accidents yet, so we assume she’s getting in and out just fine!
Sawzall. I just learned about this tool when I met Sasha. ;)
Nice job on the cat door!